 WebIssues Manual
Version 1.1.5
Managing users in the WebIssues system includes the creation of user accounts, managing global rights of users, and giving users access to specific projects.
To manage the users of WebIssues system, go to the Administration Panel and click User Accounts. In case of the Desktop Client, use the Users command from the main window toolbar.
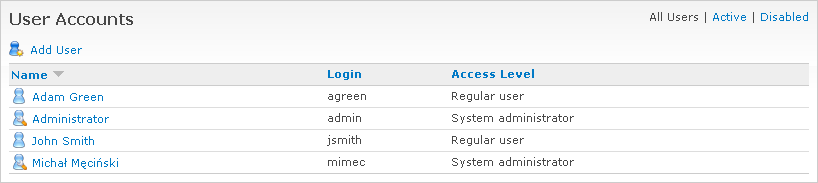
Each user has a unique, fixed login, which is used along with the password when logging into the system. Each user also has a name that is visible to other users and that can be changed by the administrator if necessary. Depending on the convention, it can be the first and last name, the email address, or any other name.
To create a new user account, select Add User.
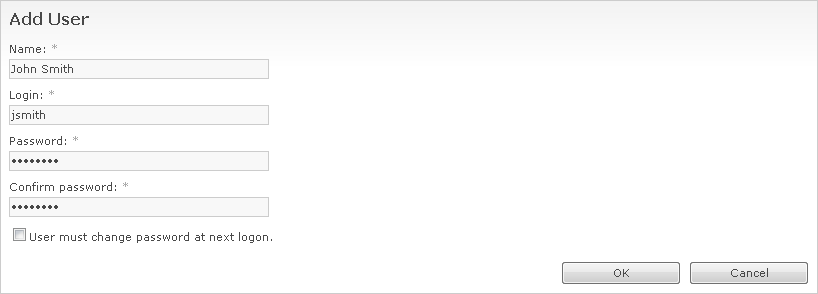
Enter the name of the user, the login and initial password. To avoid mistakes, you must enter the password twice. You can select User must change password at next logon to force the user to change password when logging into the system for the first time.
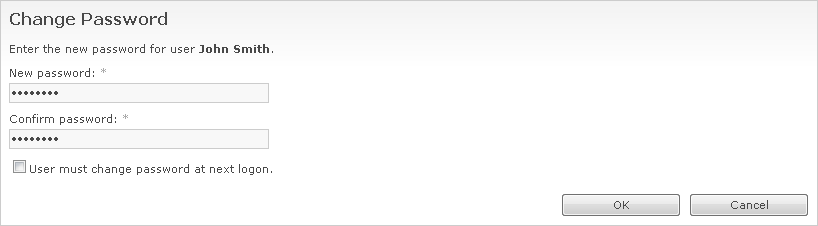
If the user doesn't remember their password, you can reset it by selecting the user from the list and clicking Change Password. You will be asked to enter a new password twice. Also in this case you can select User must change password at next logon.
When you're changing your own password, for greater security you must also enter your current password. All users can also change their own password at any time, using the Change Password command, which is available in the Tools window or in the toolbar of the Desktop Client main window.
Note
If you forget the system administrator's password, you cannot easily recover it. All passwords are stored in a database as secure hashes, and it's practically impossible to recreate the original password. However, if you have access to the database, you can reset the administrator's password, by generating a new hash and storing it in the user_passwd column for the corresponding user in the users table. WebIssues uses the “Portable PHP password hashing framework”, which is compatible with such programs as WordPress or Drupal, so you can use one of the available hash generators for these programs.
To change the name of a user, select that user on the list and click Rename User. Enter a new name and click .
Tip
Avoid changing the names of users who have assigned issues. Attribute values are stored as text, so changing the user name will not automatically change the values of “Assigned to” attributes. This may cause the user to no longer see those assigned issues.
A newly created user has no access to any project, unless he is the system administrator. To change the global access and manage the list of projects available for the selected user, use the Manage Permissions command. For more information see the section called “User permissions” below.
You can also change the preferences of any user using the User Preferences command. All users can also change their own settings, using the User Preferences command in the Tools window or in the toolbar of the Desktop Client main window. For more information about user preferences, see the section called “Personalization”.
The WebIssues system does not allow to delete existing users, because it keeps all the historical information; for example, changes made by individual users. Instead, you disable access for selected users when they should no longer be able to use the system. Use the filtering options in the upper right corner of the list to hide disabled user accounts.
The WebIssues system allows users to register new accounts by themselves. For more information about configuring user self-registration, see the section called “Access settings”.
In order to change the global access and project membership for the selected user, go to the Administration Panel and click and click User Accounts. In the Desktop Client, use the Users command from the toolbar of the main window. Then select the user from the list and click Manage Permissions.
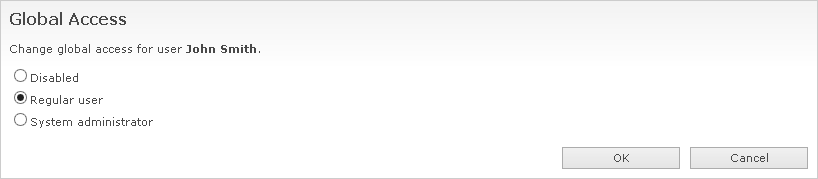
Managing privileges in the WebIssues system is relatively simple. There are three levels of global access for users:
- System administrator
-
System administrators have access to all functions of the Administration Panel. They can manage user accounts and customize the issue types and public views. They are also administrators of all existing projects in the system, even if they are not explicitly granted such permissions. The first such account is created upon installation.
- Regular user
-
Regular users can log into the system and change their personal settings. They can access only public projects and those projects to which they were granted specific privileges. They can be administrators of selected projects, but they can't create new projects. All new users are regular users by default.
- Disabled
-
Disabled users are not allowed to log into the system and do not have access to any part of it.
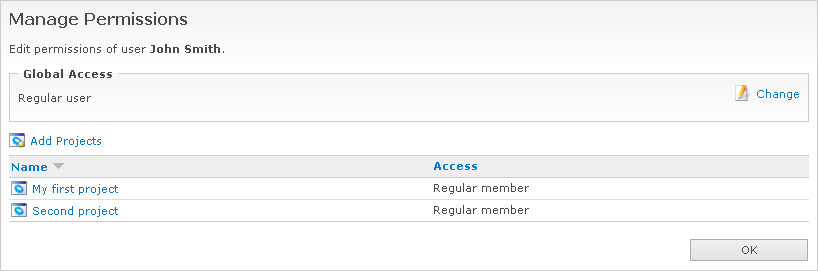
To change the global access for a user, click the Change command in the Global Access section. Then choose the new level of access and click . You can't deprive your own administrator right, because the system must have at least one active administrator account.
To add a user to some projects, use the Add Projects command. Select one or more projects, choose the appropriate level of access and click . To change the access to a project, select a project from the list and click Change Access. Then choose the new level of access and click . For more information about configuring project access, see the section called “Project permissions”.
To remove a user from a project, select it from the list and click Remove Project. In the Desktop Client, you can select several projects at once and change or remove access to them.
Tip
It is also possible to assign users to projects using the Manage Permissions command in the list of projects. This is especially useful when creating a new project. Also, unlike managing user permissions, this function is also available to project administrators. You can find more information in the section called “Project permissions”.